Building Ghostty on WSL: A Journey from Snap to Source
Ghostty is a fast, feature-rich, and GPU-accelerated terminal emulator that's been making waves in the developer community. If you're running Windows with WSL (Windows Subsystem for Linux), getting Ghostty up and running requires a bit of work, but the results are worth it. Let me walk you through my experience getting it working - from trying the quick snap install to building from source.
The Quick Route: Snap Installation
There are a few ways to get Ghostty running on Windows through WSL. The easiest is using snap:
sudo apt install libgtk-4-dev libadwaita-1-dev

sudo snap install --beta ghostty --classic
I initially thought, "Great! This was easy." But after launching it, I noticed it seemed buggy with certain UI buttons missing. The snap version was convenient but not quite ready for daily use. Time to try a different approach.
The Better Route: Building from Source 😎
If you want the full experience with all features working correctly, building Ghostty from source is the way to go. It's more involved, but you get a stable, fully-functional terminal emulator. Here's my complete journey through the build process.
Step 1: Installing Dependencies
First, I tried following the official Ghostty build documentation for Debian/Ubuntu
sudo apt install \
  libgtk-4-dev \
  libgtk4-layer-shell-dev \
  libadwaita-1-dev \
  gettext \
  libxml2-utils
Of course, I immediately hit a roadblock:
E: Unable to locate package libgtk4-layer-shell-dev
Turns out libgtk4-layer-shell-dev is only available starting from Ubuntu 25.04, and my WSL instance was running an earlier version. No problem - I can build it from source.
So I installed the dependencies that were available:
sudo apt install \
  libgtk-4-dev \
  libadwaita-1-dev \
  gettext \
  libxml2-utils
Step 2: Building gtk4-layer-shell
Since the package wasn't available, I had to compile gtk4-layer-shell from source:
# Install build dependencies
sudo apt install meson ninja-build libwayland-dev wayland-protocols \
  libgtk-4-dev gobject-introspection libgirepository1.0-dev \
  gtk-doc-tools python3 valac

# Clone and build
git clone https://github.com/wmww/gtk4-layer-shell.git && cd gtk4-layer-shell

meson setup -Dexamples=true -Ddocs=true -Dtests=true build
ninja -C build

sudo ninja -C build install
sudo ldconfig
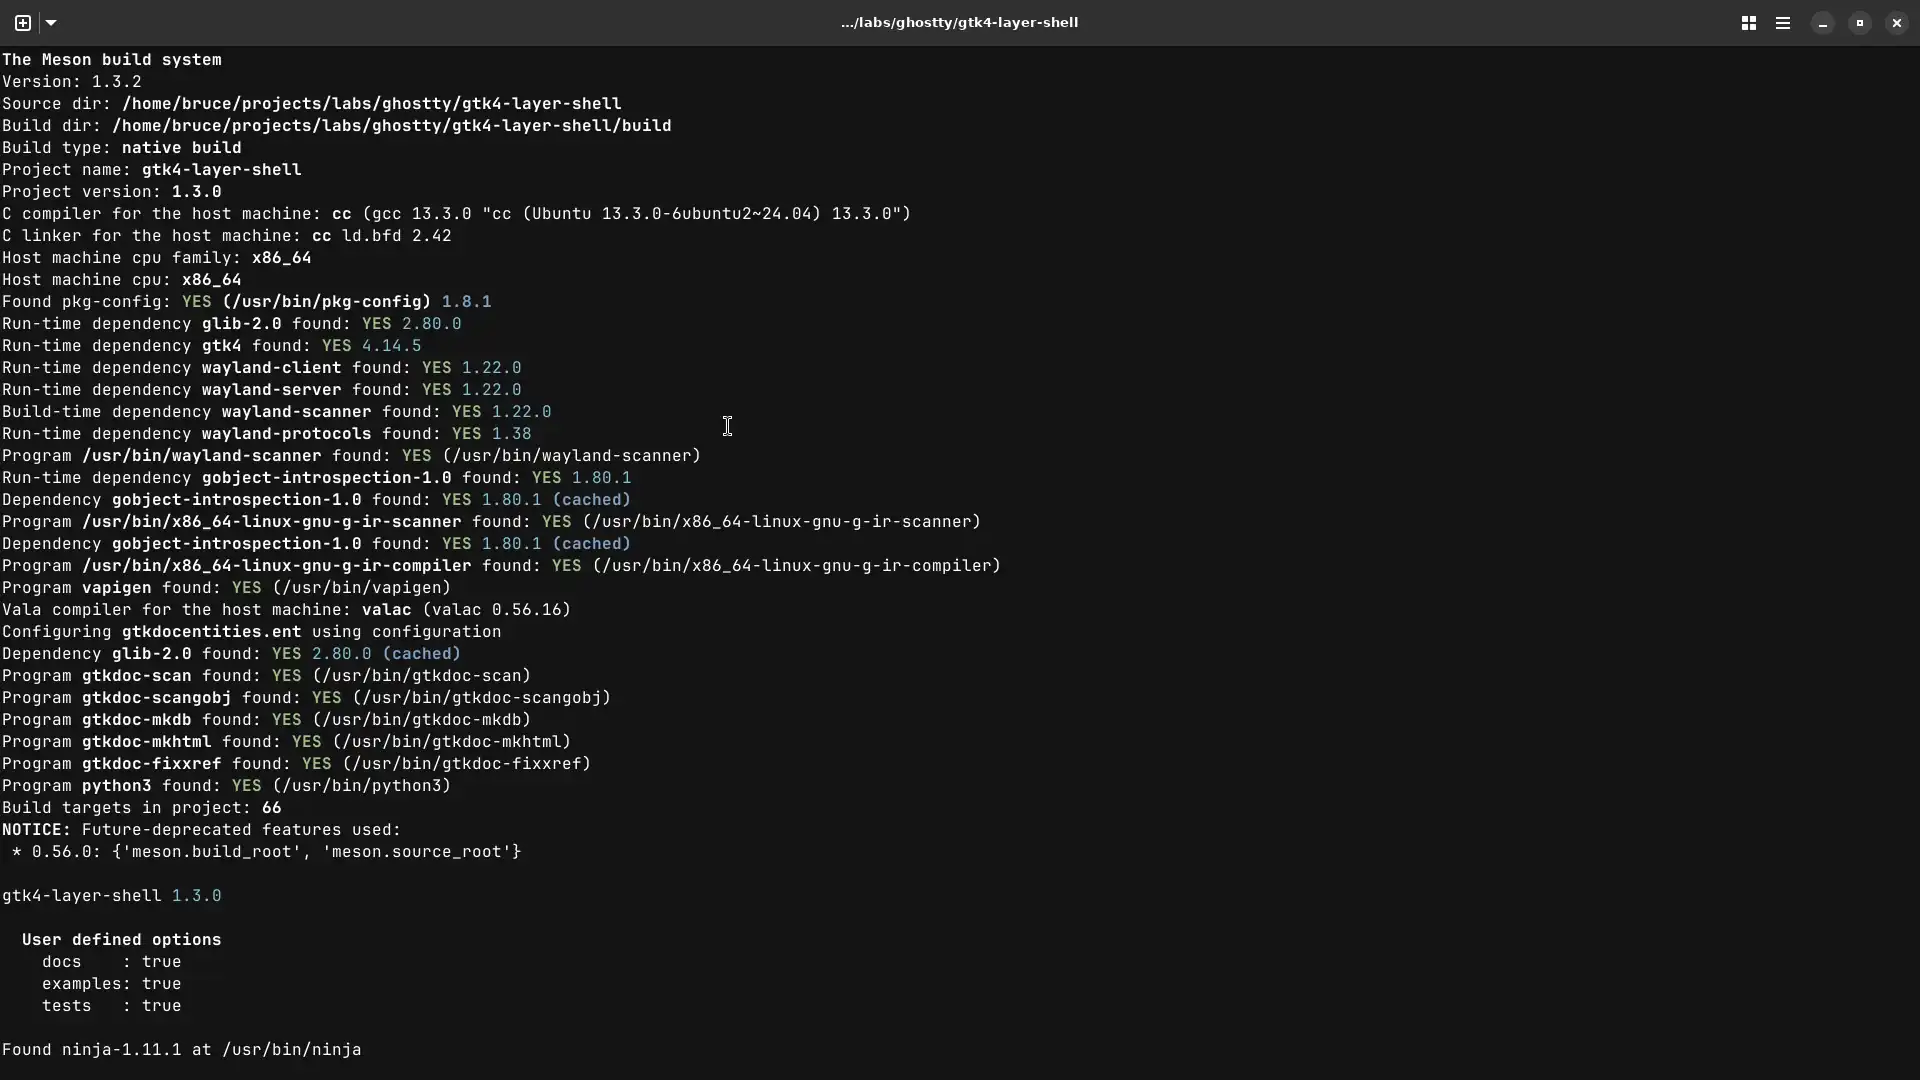
After running ldconfig, the library was properly registered and ready to use.
Step 3: Getting the Right Zig Version
Ghostty is built with Zig, and version compatibility matters. According to the Ghostty documentation, here's what you need:
| Ghostty Version | Zig Version |
|---|---|
| 1.0.x | 0.13.0 |
| 1.1.x | 0.13.0 |
| 1.2.x | 0.14.1 |
| tip (latest) | 0.15.1 |
For Ghostty 1.2.3, I needed Zig 0.14.1:
# Download Zig 0.14.1
wget https://ziglang.org/download/0.14.1/zig-x86_64-linux-0.14.1.tar.xz

# Extract it
tar xf zig-x86_64-linux-0.14.1.tar.xz

# Create symlink in your local bin
ln -sf "$HOME/zig-x86_64-linux-0.14.1/zig" "$HOME/.local/bin/zig"

# Verify it works
zig version
Note: The incorrect link has been updated. Make sure to use the correct Zig version for your Ghostty installation.
If the download commands above don't work, visit the official Zig downloads page to get the correct version for your system.
Step 4: Installing blueprint-compiler
Here's where things got interesting. I started the build only to encounter errors related to blueprint-compiler. The version available in apt was outdated: 0.12.0, so I had to get it from the snap store:
# Remove apt version if installed
sudo apt remove blueprint-compiler

# Install from snap
sudo snap install blueprint-compiler --classic

# Add snap bin to PATH
export PATH="$PATH:/snap/bin"

# Verify version (needs to be 0.16.0+)
blueprint-compiler --version
This gave me version 0.16.0, which is exactly what we need.
Step 5: Downloading and Building Ghostty
With all dependencies finally in place, I could download and build Ghostty:
# Download Ghostty source
wget https://github.com/ghostty-org/ghostty/archive/refs/tags/v1.2.3.tar.gz

# Extract both archives
tar xf zig-linux-x86_64-0.14.1.tar.xz
tar xf v1.2.3.tar.gz

# Navigate to Ghostty directory
cd ghostty-1.2.3

# Build and install to ~/.local
zig build -p $HOME/.local -Doptimize=ReleaseFast
After what felt like an eternity (Zig compiles are thorough), I finally saw the success message. No errors! 🎉
⚠️ Troubleshooting: iTerm2 Color Schemes 404 Error
If you encounter a build error like this:
error: bad HTTP response code: '404 Not Found'
  .url = "https://github.com/mbadolato/iTerm2-Color-Schemes/releases/download/release-20251002-142451-4a5043e/ghostty-themes.tgz",
This happens because the iTerm2 Color Schemes release referenced in
build.zig.zonmay have been updated or removed. To fix this:
- Visit the iTerm2-Color-Schemes releases page
- Find the latest
ghostty-themes.tgzrelease- Update the
build.zig.zonfile in your Ghostty source directory with the new URL and hash:.url = "https://github.com/mbadolato/iTerm2-Color-Schemes/releases/download/release-20251124-150533-2b326a8/ghostty-themes.tgz", .hash = "N-V-__8AAPZCAwDJ0OsIn2nbr3FMvBw68oiv-hC2pFuY1eLN", .lazy = true,Then retry the build command.
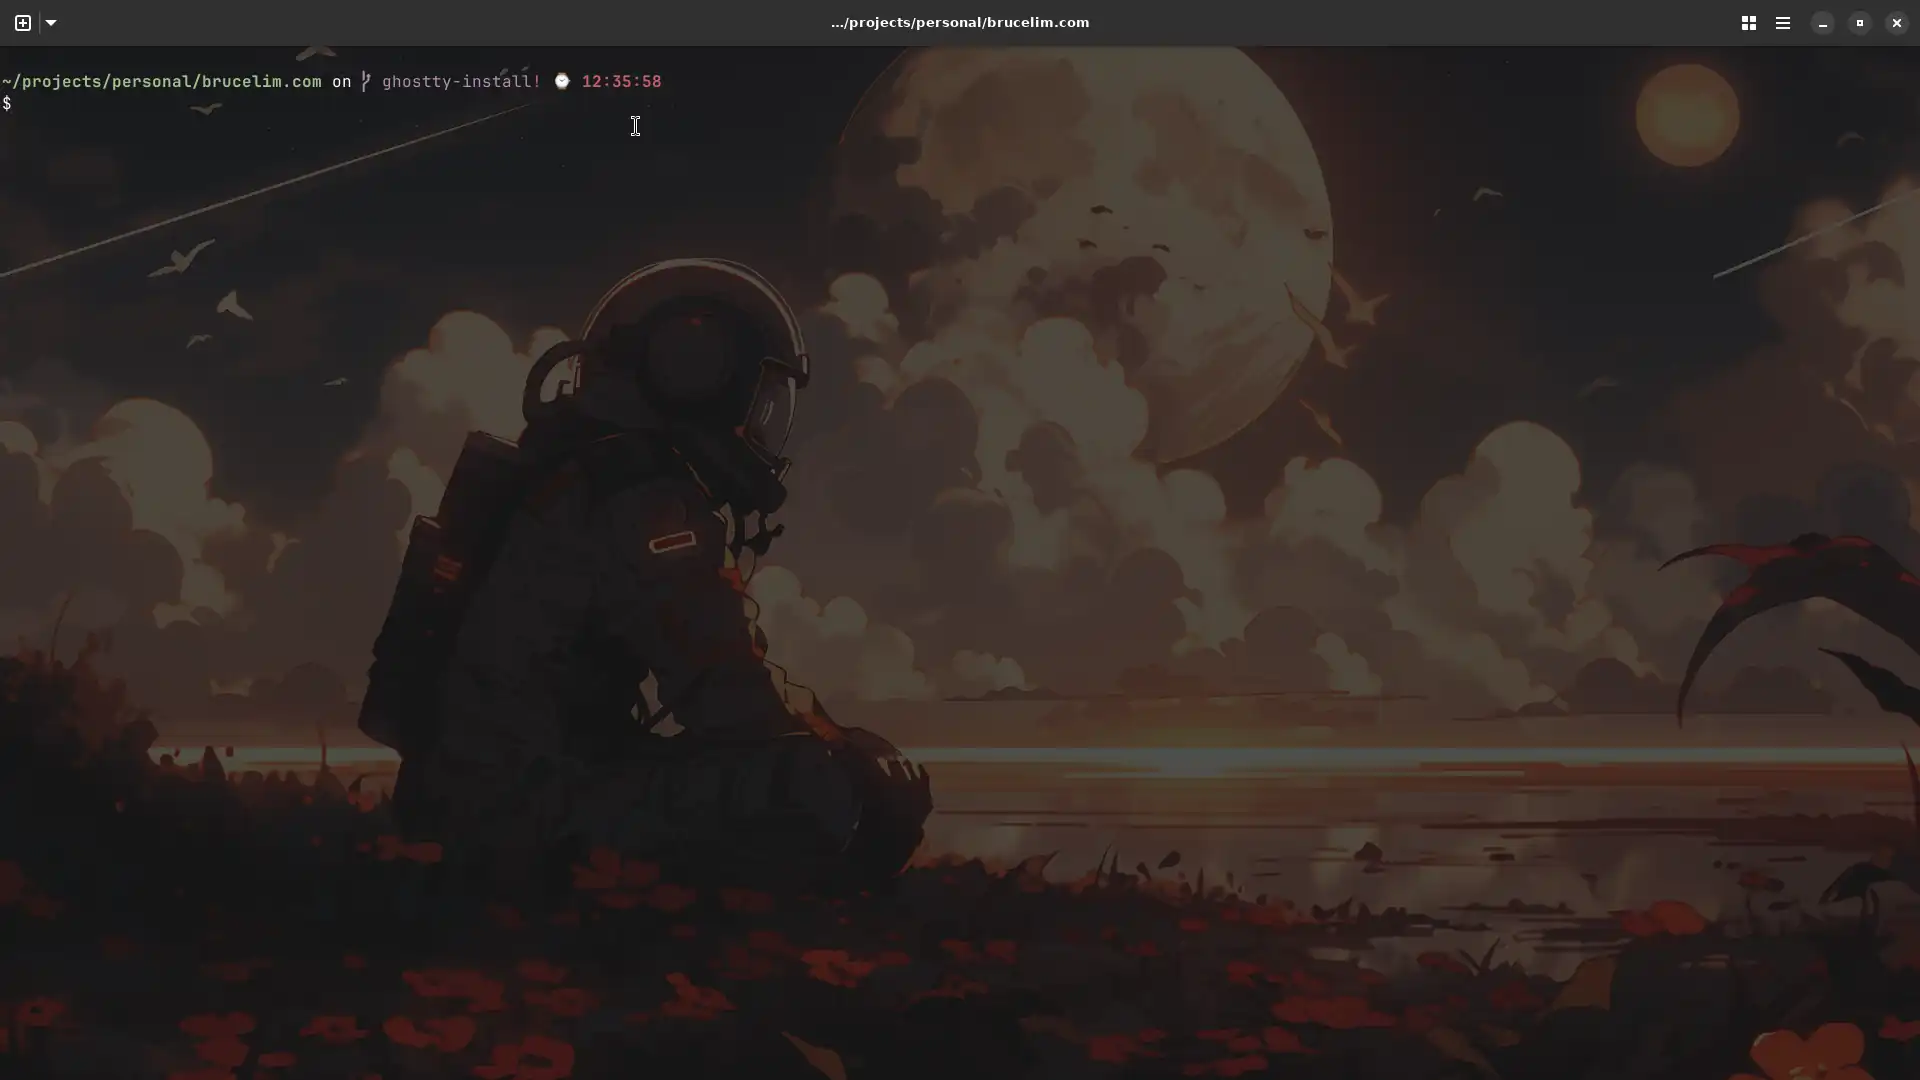
Step 6: Creating a Windows Shortcut
Now that Ghostty is built and installed in ~/.local/bin/ghostty, we need to make it easily accessible from Windows. Create a Windows shortcut with the following target:
"C:\Program Files\WSL\wslg.exe" -d Ubuntu --cd "~" -- /home/bruce/.local/bin/ghostty --gtk-single-instance=true
You can place this shortcut in your Start Menu folder for easy access:
Dont forget to update your username
C:\Users\YourWindowsUsername\AppData\Roaming\Microsoft\Windows\Start Menu\Programs\

The --gtk-single-instance=true flag ensures that multiple shortcuts open new windows in the same Ghostty instance rather than spawning separate processes.
Bonus: Customizing Directory Colors
After getting Ghostty running, I wanted to customize the terminal directory colors to make them more readable:
# Generate color database
dircolors --print-database > ~/.dir_colors

# Add to ~/.bashrc or ~/.zshrc
export LS_COLORS=$LS_COLORS':di=36;01'    # directories in cyan
export LS_COLORS=$LS_COLORS':tw=36;01'    # sticky directories
export LS_COLORS=$LS_COLORS':ow=36;01'    # other-writable directories
Configuration Tips
Ghostty uses a simple configuration file located at ~/.config/ghostty/config. Here are some settings to get you started:
# Font configuration
font-family = "JetBrains Mono"
font-size = 12

# Theme
theme = Catppuccin Mocha
background-image = /mnt/c/Users/bruce/Pictures/bg/1338182.png
background-image-fit = cover
background-image-opacity = .12
#background-opacity = 0.95 # this will actually set opacity of windows, not background image


# Performance
shell-integration = true
Key Takeaways
- Snap is convenient but buggy: The snap installation is quick but may have UI issues
- Building from source gives you control: You get the latest features and better stability
- Version compatibility matters: Match your Zig version to your Ghostty version
- Dependencies can be tricky on WSL: Some packages aren't available in older Ubuntu versions
- gtk4-layer-shell is difficult to find: This package isn't available in apt for older Ubuntu versions and needs to be compiled from source
- blueprint-compiler version mismatch: The apt version (0.12.0) is outdated - you need 0.16.0+ from snap
- WSLg makes GUI apps seamless: Running Ghostty through WSLg provides a native-like experience
Troubleshooting
If you encounter build errors:
# Make sure all dependencies are installed
sudo apt update && sudo apt upgrade

# Verify Zig version
zig version

# Check blueprint-compiler
blueprint-compiler --version

# Clean build and try again
zig build clean
zig build -p $HOME/.local -Doptimize=ReleaseFast
Conclusion
Building Ghostty from source on WSL takes some effort, but the result is a blazing-fast, feature-complete terminal emulator that integrates beautifully with Windows. The GPU acceleration and modern architecture make it noticeably snappier than traditional terminal emulators.
While the build process has several steps, each one is straightforward once you know what you need. Plus, you gain valuable experience building software from source and understanding dependency management in Linux.
Now go forth and enjoy your shiny new terminal! 😎