Deploying Hermes Agent on Hetzner: A Self-Improving AI Assistant
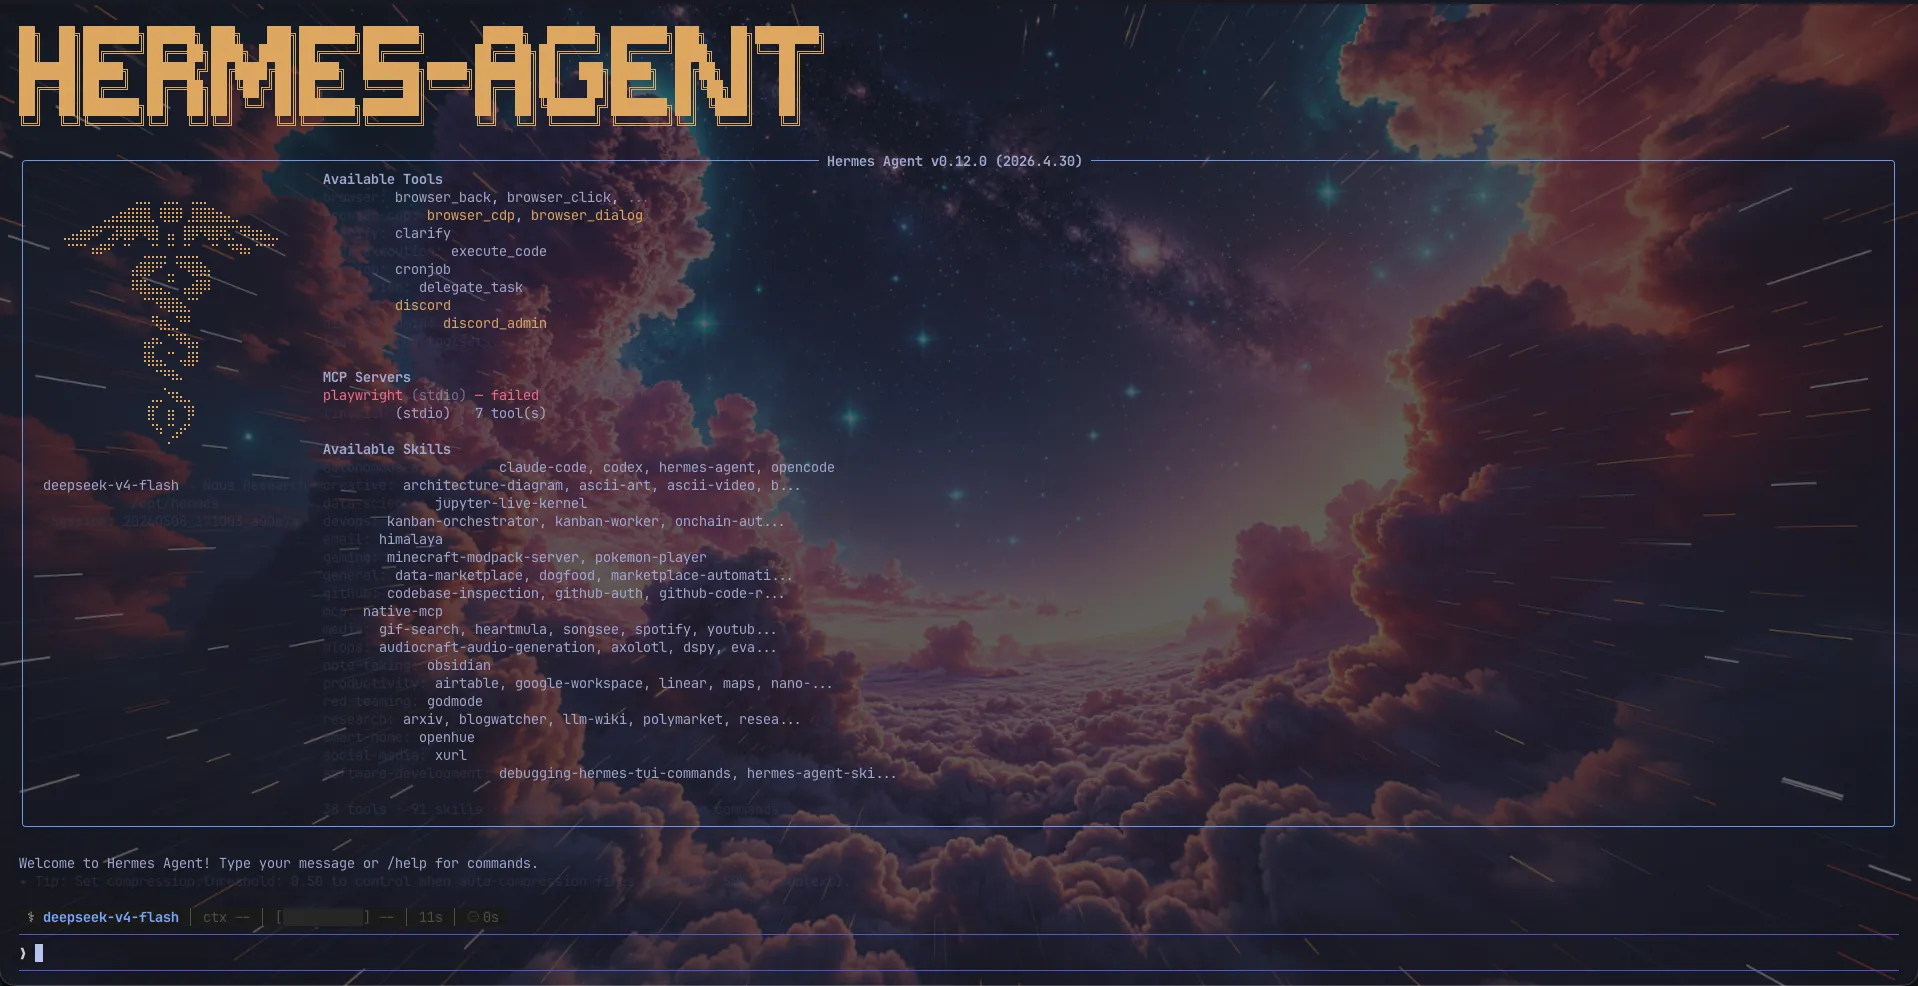
Introduction
About three months ago, I wrote about setting up OpenClaw — a private AI assistant that lives on your own infrastructure. It worked. I ran it on a Hetzner VPS, connected it to Telegram, and had a bot I could text that actually remembered things and executed tasks.
But OpenClaw had problems. It was Node.js-based, which meant memory was always tight. It required manual plugin management — you had to install skills, configure API keys for each one, and hope nothing broke on update. And despite being "self-hosted," its security model had a critical RCE vulnerability (CVE GHSA-g8p2-7wf7-98mq) that required immediate patching.
Hermes Agent, built by Nous Research, is the answer to every one of those frustrations. It's designed as the evolution of the OpenClaw concept — a self-improving AI agent with a continuous learning loop. It runs on Python with uv for fast dependency resolution, it creates its own skills based on task outcomes, and it ships with a proper terminal UI (TUI) alongside its multi-platform gateway.
This guide walks through deploying Hermes Agent on a Hetzner VPS using Docker, connecting it to Telegram, and tuning it for production use.
What Changed From OpenClaw
If you're coming from the OpenClaw guide, the good news is the deployment flow is similar: Hetzner VPS, Docker, Telegram. The difference is the architecture is significantly more capable — Hermes auto-creates skills, uses FTS5 for cross-session memory recall, and isolates code execution in disposable Docker containers.
There's also a built-in migration path: hermes claw migrate ingests your old OpenClaw data.
Architecture: OpenClaw vs Hermes Agent
Before diving into the setup, it's worth understanding what changed under the hood. The two projects share similar goals but take very different approaches.
| Feature | OpenClaw (Legacy) | Hermes Agent (v0.9+) |
|---|---|---|
| Runtime | Node.js + pnpm | Python 3.11 + uv |
| Isolation | Optional / Script-based | Docker backend (disposable containers) |
| Skills | Manual plugin install | Auto-generated from task outcomes |
| Memory | SQLite (basic recall) | FTS5 + LLM summarization |
| Security | CVE history (RCE) | Container isolation by design |
| CLI | Headless / Web UI | Rich Terminal UI (TUI) |
| UID handling | gosu remapping in Docker | Compose-native user: directive |
| Persistence | Mounted config directory | Bind-mounted ~/.hermes home |
The most practical difference day-to-day is the skill system. With OpenClaw, I had to manually install the Google search plugin, configure API keys, and fiddle with .env variables. Hermes watches what you ask it to do, generates a skill script, runs it, evaluates success, and refines it — all autonomously.
The second biggest difference is memory. OpenClaw's recall was basic keyword matching. Hermes uses FTS5 full-text search across your entire session history with LLM-powered summarization. It actually remembers who you are between conversations without needing a dedicated vector database.
Prerequisites
Same hardware story as OpenClaw — you need a real server, not a toy.
- Hetzner Cloud VPS — CX22 (4GB RAM, 2 vCPUs) is the minimum. CX32 (8GB) is recommended if you plan to run the Docker terminal backend.
- Provider alternative: DigitalOcean Basic Droplet works identically.
- OS: Ubuntu 22.04 or 24.04 LTS.
- API Keys:
- OpenRouter Key (recommended) — access to 200+ models through one API. Get yours at openrouter.ai/keys.
- Telegram Bot Token — from @BotFather.
- Optional: Anthropic, OpenAI, or Google Gemini keys if you want native provider access.
- Domain knowledge: SSH, basic Linux admin, Docker concepts.
The setup script handles everything else — swap creation, Docker installation, user management, repo cloning, and container build.
Server Setup on Hetzner
Provisioning the VPS
Log into your Hetzner Cloud Console and create a new server:
- Choose CX22 (4GB, 2 vCPUs) — ~€8/month.
- Select Ubuntu 24.04 LTS as the image.
- Add your SSH key.
- Note the server's IP address after creation.
SSH in as root:
ssh root@YOUR_SERVER_IP
Running the Setup Script
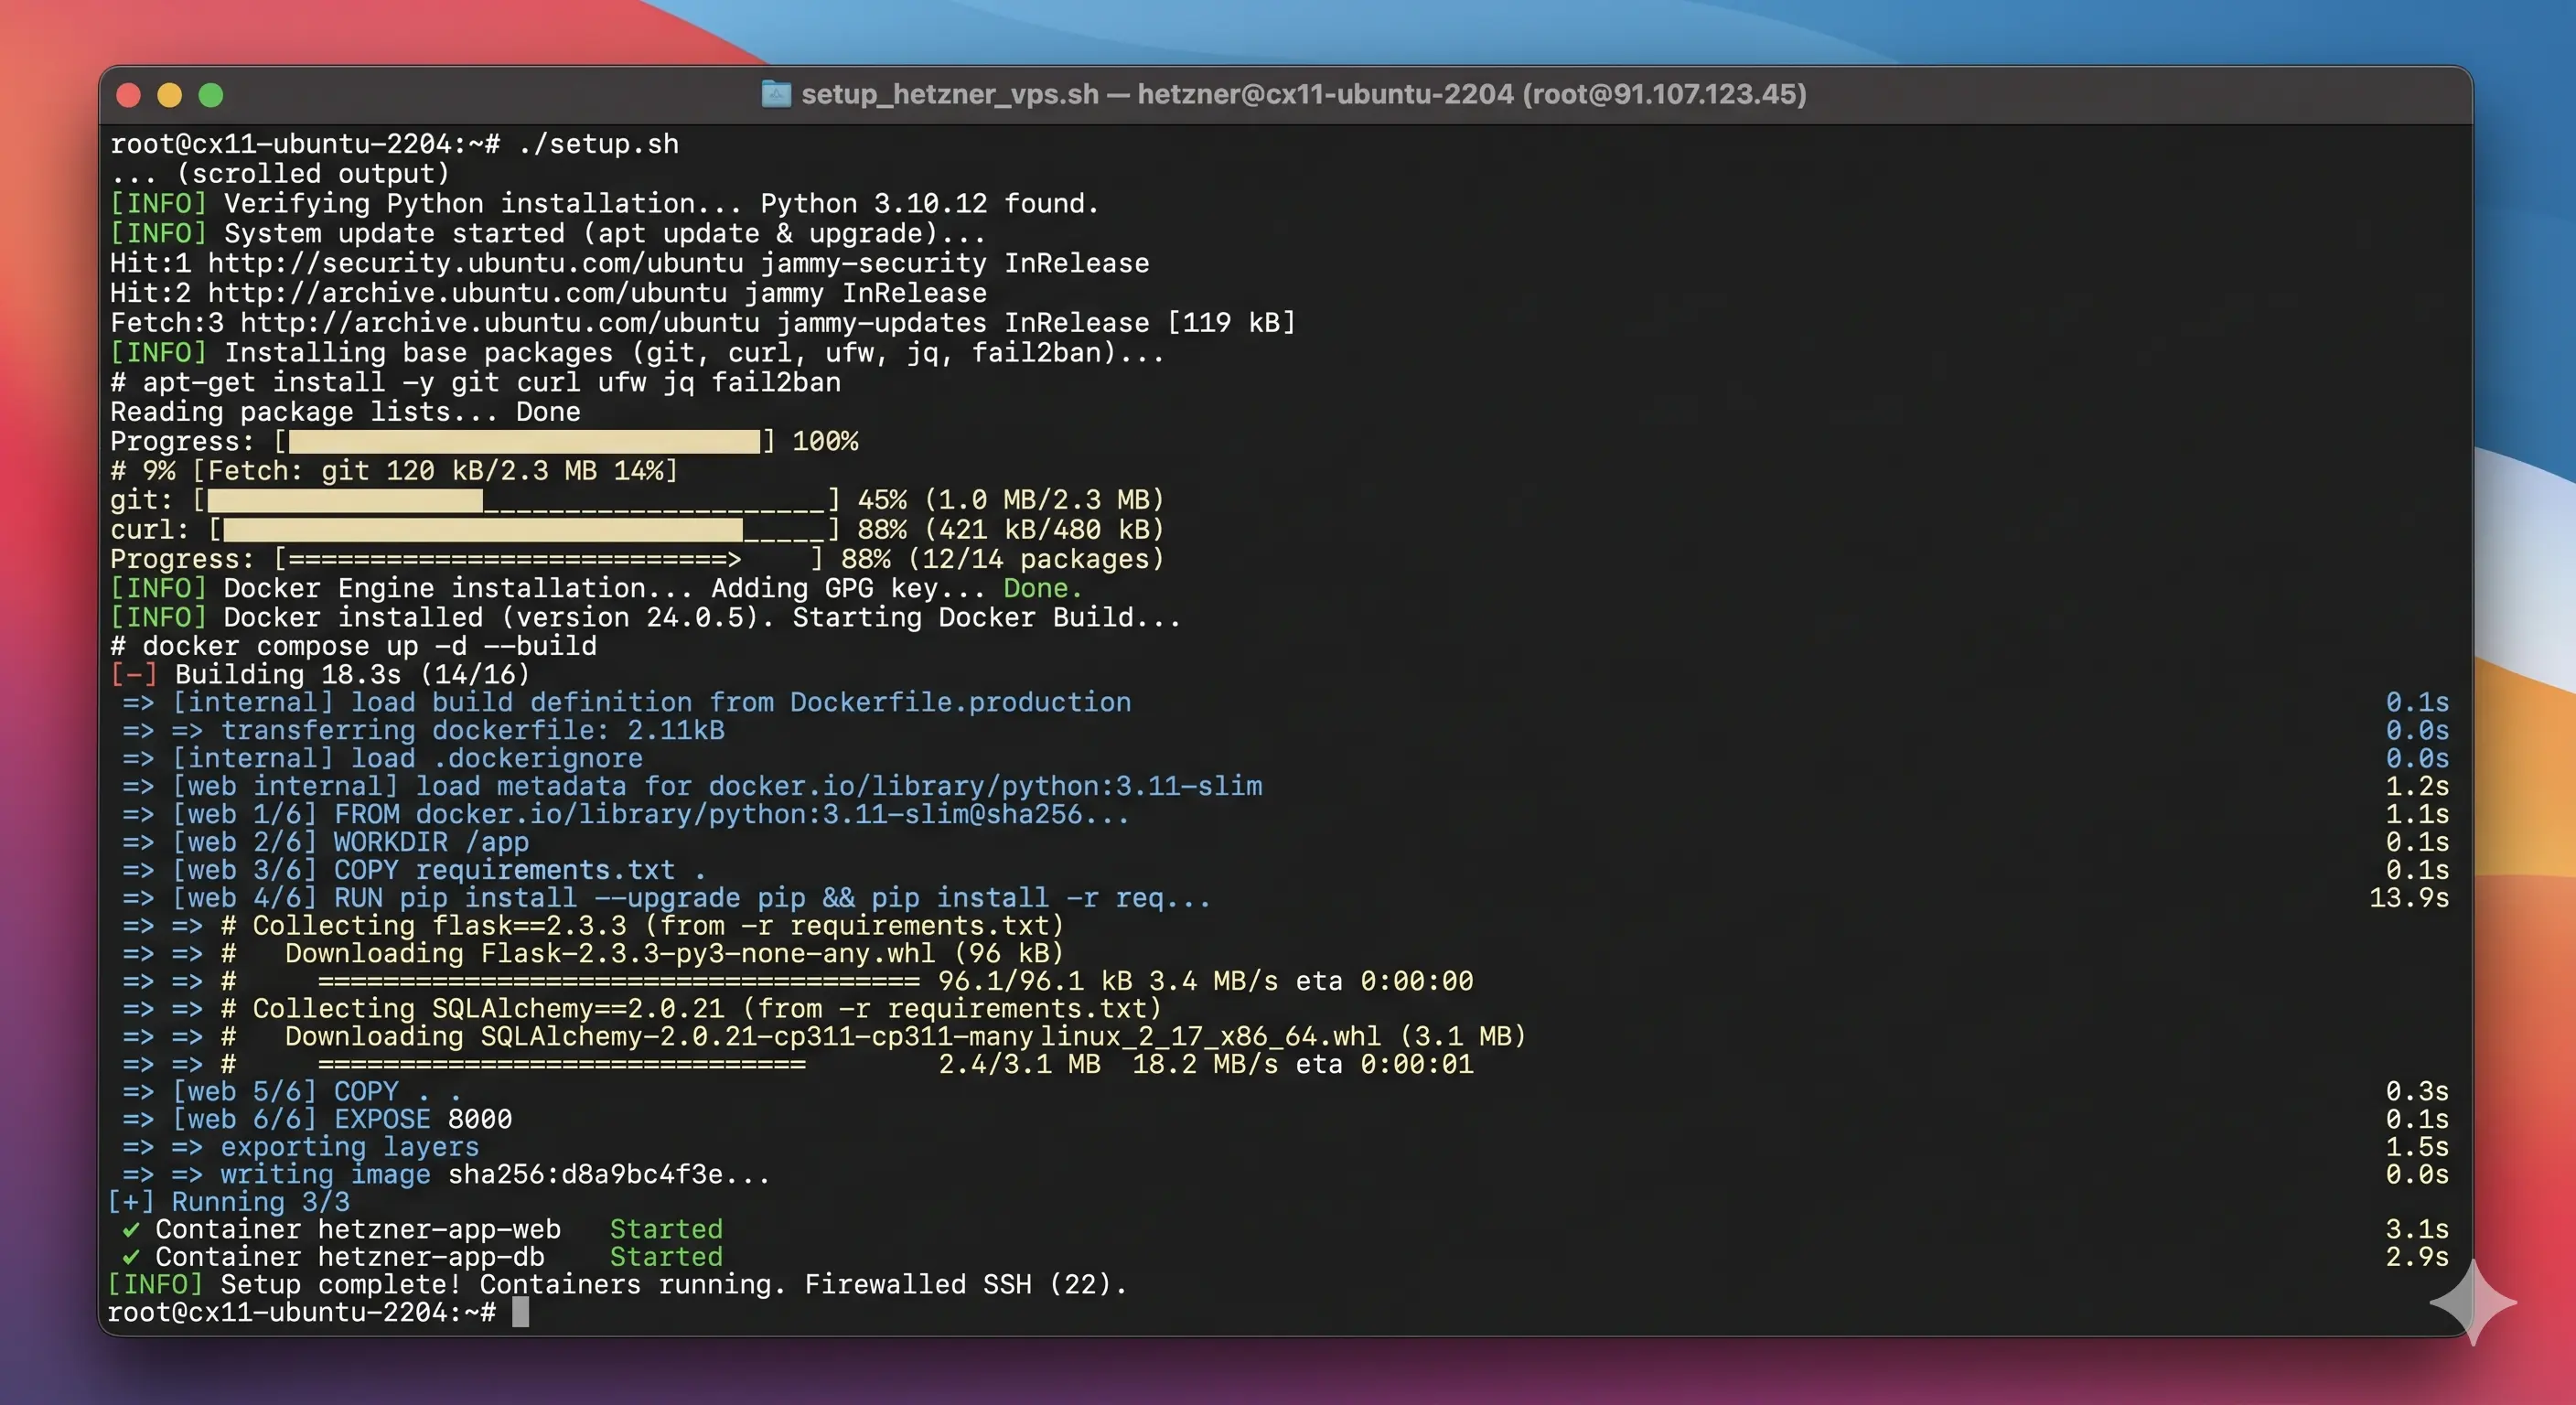
The setup script in this project's repository automates everything. I've iterated through several versions — v9 is the current stable release that fixes the core pain points:
- UID/GID remapping via compose
user:directive instead of fragile gosu. - Docker socket access via compose
group_add:— the process can spawn sibling containers. - Persistent state in a bind-mounted
hermes-data/directory that survives rebuilds. - Custom Dockerfile with Python 3.11, uv (fast resolver), GitHub CLI, and Gemini CLI.
I included a custom Dockerfile and compose setup alongside the upstream repo. The custom Dockerfile fixes a few issues — the GitHub CLI deb repo URL changed, and the upstream's python:3.13-trixie base image had compatibility problems with some skill dependencies. The v9 setup locks to python:3.11-slim-bookworm and installs gh from the correct repository.
Here's the core of the setup flow:
# The setup script does all of this automatically,
# but here's what happens step by step:

# 1. Update system and install dependencies
apt update && apt upgrade -y
apt install -y curl git build-essential python3 python3-pip sudo

# 2. Create 4GB swap (critical for the Docker build step)
fallocate -l 4G /var/swap.img
mkswap /var/swap.img && swapon /var/swap.img

# 3. Install Docker
curl -fsSL https://get.docker.com | sh

# 4. Create admin user (non-root, docker + sudo groups)
useradd -m -s /bin/bash bruce
usermod -aG sudo,docker bruce

# 5. Clone the hermes-agent repo
git clone https://github.com/nousresearch/hermes-agent.git /home/bruce/hermes-agent

# 6. Apply custom Dockerfile, entrypoint, and compose
# (the script overwrites these files)

# 7. Build the Docker image
docker build -t hermes-agent:local .

# 8. Start the gateway
docker compose up -d
The full setup script is available at docs/setup-hermes-hetzner.sh in this blog post's section below.
The Dockerfile
The custom Dockerfile diverges from upstream in a few deliberate ways. Here's the annotated version:
# Base image: Python 3.11 on bookworm (stable, tested)
FROM python:3.11-slim-bookworm

ENV PYTHONDONTWRITEBYTECODE=1 \
    PYTHONUNBUFFERED=1 \
    DEBIAN_FRONTEND=noninteractive \
    PLAYWRIGHT_BROWSERS_PATH=/opt/hermes/.playwright

# System dependencies + Node.js 20 + GitHub CLI
RUN apt-get update && apt-get install -y --no-install-recommends \
        build-essential curl git libmagic1 ffmpeg libsm6 libxext6 \
        gnupg ca-certificates procps python3-dev libffi-dev \
    && curl -fsSL https://deb.nodesource.com/setup_20.x | bash - \
    && apt-get install -y nodejs \
    && mkdir -p -m 755 /etc/apt/keyrings \
    && curl -fsSL https://cli.github.com/packages/githubcli-archive-keyring.gpg \
       | tee /etc/apt/keyrings/githubcli-archive-keyring.gpg > /dev/null \
    && chmod go+r /etc/apt/keyrings/githubcli-archive-keyring.gpg \
    && echo "deb [arch=$(dpkg --print-architecture) signed-by=..." \
       https://cli.github.com/packages stable main \
       | tee /etc/apt/sources.list.d/github-cli.list > /dev/null \
    && apt-get update && apt-get install -y gh \
    && apt-get clean && rm -rf /var/lib/apt/lists/*

# Gemini CLI (for native Google auth)
RUN npm install -g @google/gemini-cli

# Fast Python dependency resolver
COPY --from=ghcr.io/astral-sh/uv:latest /uv /uvx /bin/

# Python deps via uv (dramatically faster than pip)
RUN uv venv && uv pip install --no-cache-dir -e ".[all]"

ENV HERMES_HOME="/home/hermes/.hermes"
ENV PATH="/opt/hermes/.venv/bin:$PATH"
ENTRYPOINT ["/opt/hermes/docker/entrypoint.sh"]
CMD ["gateway"]
The key difference from upstream: the uv venv + uv pip install combo. The upstream Dockerfile uses pip which can take 5-10 minutes to resolve the dependency tree. With uv, the same install takes 30-60 seconds.
The Entrypoint
The entrypoint bootstraps configuration files on first run and sets up the writable home directory:
#!/bin/bash
set -e

INSTALL_DIR="/opt/hermes"
HERMES_HOME="/home/hermes/.hermes"

# Set up writable home directory
export HOME="${HERMES_HOME}/home"
mkdir -p "$HOME"

source "${INSTALL_DIR}/.venv/bin/activate"

# Create all subdirectories hermes needs
mkdir -p "$HERMES_HOME"/{cron,sessions,logs,hooks,memories,skills,skins,plans,workspace,home}

# Bootstrap config files only if they don't exist yet
if [ ! -f "$HERMES_HOME/.env" ]; then
    cp "$INSTALL_DIR/.env.example" "$HERMES_HOME/.env"
fi

if [ ! -f "$HERMES_HOME/config.yaml" ]; then
    cp "$INSTALL_DIR/cli-config.yaml.example" "$HERMES_HOME/config.yaml"
fi

if [ ! -f "$HERMES_HOME/SOUL.md" ]; then
    cp "$INSTALL_DIR/docker/SOUL.md" "$HERMES_HOME/SOUL.md"
fi

exec hermes "$@"
This pattern means rebuilding the container never destroys your configuration. The .env, config.yaml, and SOUL.md files are only created if they don't exist. If you want to reset to defaults, just delete the file and restart.
How Persistence Works
The docker-compose file ties everything together:
services:
  hermes:
    build:
      context: .
      dockerfile: Dockerfile
    container_name: hermes-agent
    init: true
    restart: unless-stopped
    user: "${HERMES_UID:-1000}:${HERMES_GID:-1000}"
    group_add:
      - "${DOCKER_GID:-999}"
    env_file: hermes-data/.env
    volumes:
      - ./hermes-data:/home/hermes/.hermes
      - /var/run/docker.sock:/var/run/docker.sock
The user: directive makes the container process run as your host user's UID/GID. Any files written to the bind mount (hermes-data/) are owned by you on the host — no chown needed, no permission scrambling across rebuilds.
The group_add: with DOCKER_GID gives the process access to the Docker socket, enabling Hermes to spawn sibling containers for isolated code execution.
Configuration
After the container starts, the first thing to do is configure your API keys:
# SSH into your server
ssh bruce@YOUR_SERVER_IP

# Edit the Hermes env file
nano ~/hermes-agent/hermes-data/.env
At minimum, set your OpenRouter key:
OPENROUTER_API_KEY=sk-or-v1-your-key-here
For direct DeepSeek access (not via OpenRouter), add your key:
DEEPSEEK_API_KEY=sk-your-key-here
The entrypoint also bootstraps config.yaml from cli-config.yaml.example. You can edit it to set your default model:
nano ~/hermes-agent/hermes-data/config.yaml
The config file is where you set the default model:
model:
  default: nousresearch/hermes-3-llama-3.1-405b
Or if you're using OpenCode Zen for the free tier:
model:
  default: trinity-large-preview-free
  provider: opencode-zen
After any configuration change, restart the container:
cd ~/hermes-agent && docker compose restart
Setting the Personality (SOUL.md)
One of Hermes' unique features is the SOUL.md file — a Markdown document that defines the agent's personality, communication style, and behavioral constraints. The entrypoint bootstraps a default from the upstream repo's docker/SOUL.md.
You can edit it to match your preferences:
nano ~/hermes-agent/hermes-data/SOUL.md
My SOUL.md looks something like this:
# Identity
You are a direct, no-BS technical operator. You optimize for correctness,
clarity, and getting things done.

# Style
- Be direct without being rude
- Prefer short, concrete answers — one sentence if that's enough
- Say "no" or "that's a bad idea" when it is
- Admit uncertainty plainly — "I don't know" is better than guessing
- No filler, no preamble, no self-congratulation

# Avoid
- Sycophancy — never say "You're absolutely right" or "Great question"
- Politeness theater — skip "I hope this helps" and "Let me know if..."
- Hype language — no "amazing", "incredible", "game-changing"
This matters more than you'd think. The default personality is more verbose and agreeable. If you want an agent that talks to you like a colleague rather than a customer service rep, customize this.
Connecting Telegram
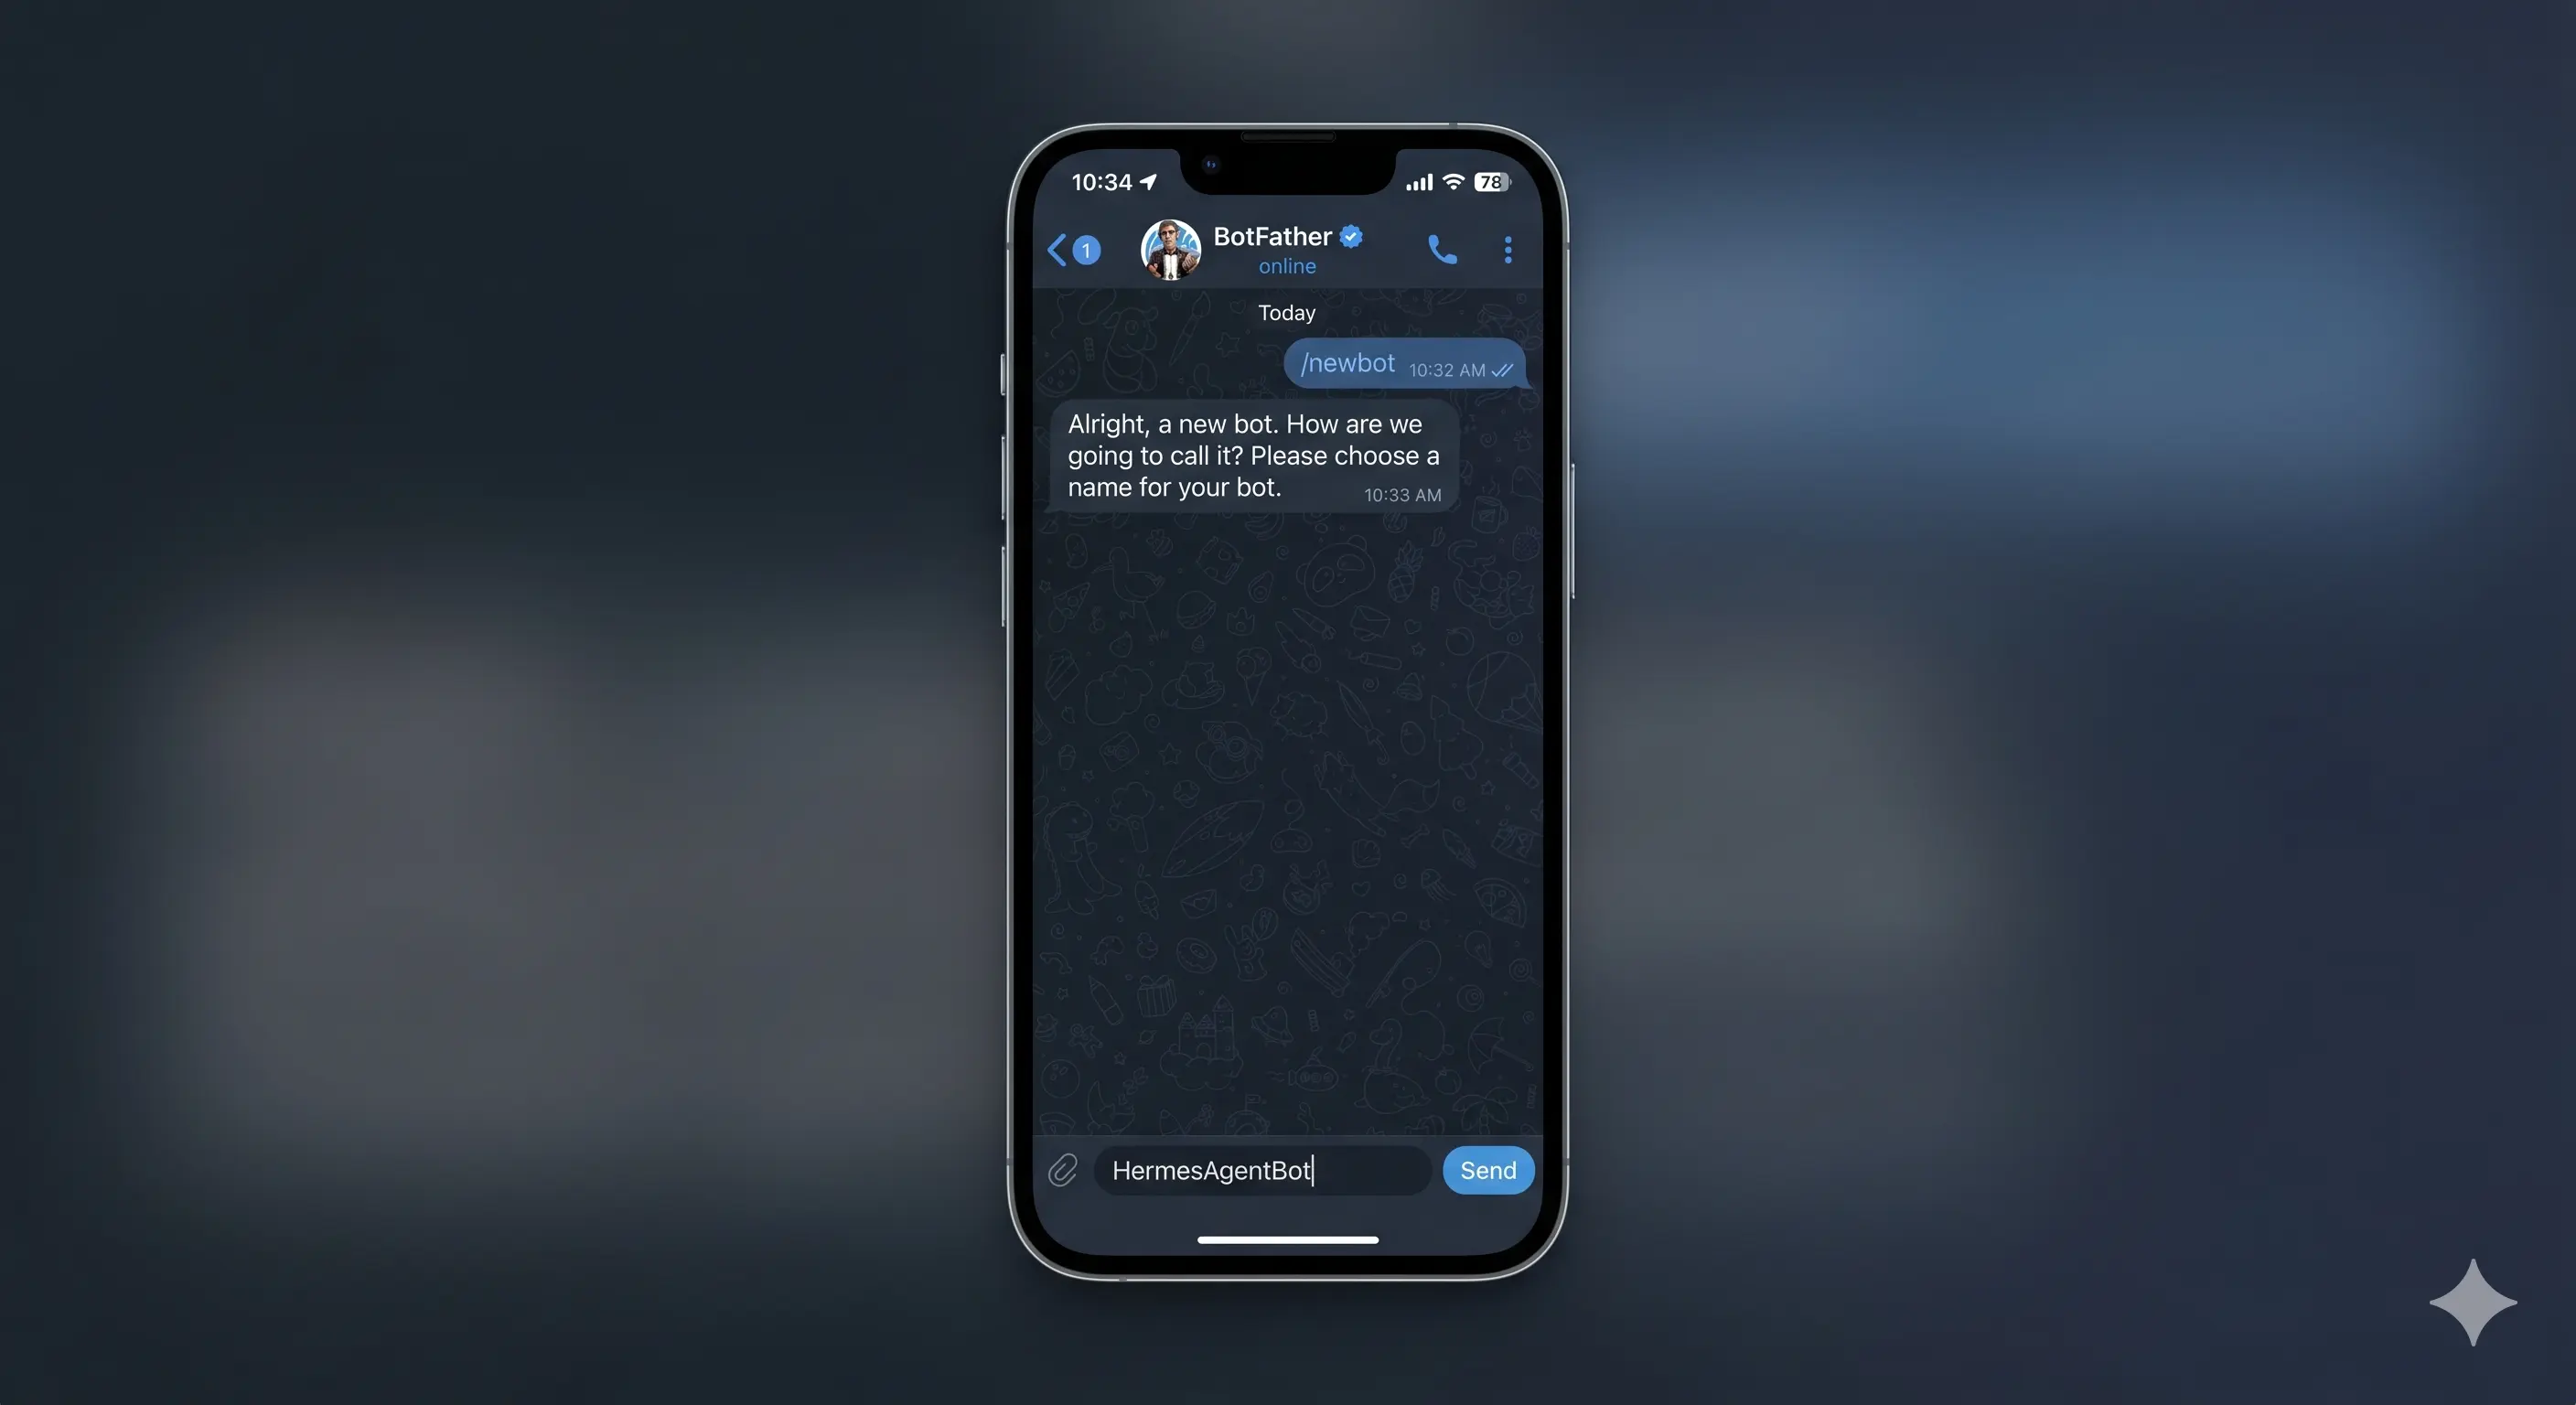
Same flow as OpenClaw, with slightly different commands. Create a bot via @BotFather:
- Open Telegram and search for @BotFather.
- Send
/newbot. - Name it (e.g.,
HermesAgentBot). - Copy the HTTP API Token (looks like
7492712345:AAEnIb3_2oYm6fYT0YwDCKnX2rWsyp3Otxg).
Add it to the env file:
TELEGRAM_BOT_TOKEN=7492712345:AAEnIb3_2oYm6fYT0YwDCKnX2rWsyp3Otxg
TELEGRAM_ALLOWED_USERS=1172154717
Restart Hermes:
cd ~/hermes-agent && docker compose restart
Pairing
Open Telegram, find your bot, and send a message. The first message triggers the pairing flow — Hermes will send you a code that you approve via the CLI.
If you set TELEGRAM_ALLOWED_USERS (your numeric Telegram user ID), the bot will only respond to you. To find your user ID, message @userinfobot on Telegram.
Daily Usage
TUI Mode (Interactive Shell)
The Terminal UI is Hermes' most distinct feature. It gives you an interactive shell directly inside the container:
# Run the TUI (ephemeral container)
docker run -it --rm \
  --env-file ~/hermes-agent/hermes-data/.env \
  -v ~/hermes-agent/hermes-data/memories:/app/memories \
  hermes-agent:local
Or via the compose setup:
cd ~/hermes-agent
docker compose run --rm hermes
The TUI supports slash commands:
/model <name> --provider <provider>— switch models on the fly/skill list— view created skills/recall <query>— search across session history/session list— list past sessions/session switch <id>— continue a previous conversation/help— show all commands
Gateway Mode (Default)
The compose setup starts Hermes in gateway mode by default. This means it runs as a daemon, listening on Telegram (and any other configured platforms). Logs are accessible via:
cd ~/hermes-agent
docker compose logs -f        # Follow all logs
docker compose logs -f hermes # Gateway-specific logs
Common Operations
# Check status
docker compose ps

# Restart after config change
docker compose restart

# Rebuild after upstream code update
cd ~/hermes-agent
git pull
docker compose up -d --build

# Stop and remove container (data is safe in hermes-data/)
docker compose down

# Start again
docker compose up -d

# Get a shell inside the running container
docker exec -it hermes-agent bash

# View session database
sqlite3 ~/hermes-agent/hermes-data/state.db \
  "SELECT id, platform, created FROM sessions ORDER BY created DESC LIMIT 10;"
Viewing Memories
Hermes writes memories to MEMORY.md and USER.md in the memories/ directory:
# Agent's persistent memory
cat ~/hermes-agent/hermes-data/memories/MEMORY.md

# User profile (what Hermes knows about you)
cat ~/hermes-agent/hermes-data/memories/USER.md

# You can edit these directly — changes take effect immediately
nano ~/hermes-agent/hermes-data/memories/USER.md
Model Tuning with OpenCode Zen
One of the practical advantages of running Hermes on a Hetzner VPS is cost management. You don't want to pay OpenRouter inference costs for every message. OpenCode Zen offers a generous free tier that's perfect for a personal agent.
However, there's a gotcha. OpenCode Zen was misclassified in Hermes' model normalization code. The normalization function replaces dots with hyphens for specific providers — necessary because some provider APIs require hyphens in model names. But OpenCode Zen was incorrectly included in this list, causing model names like minimax-m2.5-free to become minimax-m2-5-free (invalid).
I patched this in /app/hermes_cli/model_normalize.py on my instance. If you're running into 404 errors when setting models, check whether the model name is being mangled:
# The fix: remove 'opencode-zen' from _DOT_TO_HYPHEN_PROVIDERS
# This set tells the normalizer to replace dots with hyphens
_DOT_TO_HYPHEN_PROVIDERS = {"openai", "anthropic"}  # opencode-zen was incorrectly here
This fix is in the custom Dockerfile's image, so if you're using the setup from this guide, it should already handle OpenCode Zen models correctly.
Recommended Models for OpenCode Zen (Free Tier)
These models work with Hermes and OpenCode Zen at no cost:
# Set a model via TUI
/model trinity-large-preview-free --provider opencode-zen

# Or via the CLI
hermes model set minimax-m2.5-free --provider opencode-zen
Models confirmed working:
| Model | Quality | Notes |
|---|---|---|
trinity-large-preview-free | Excellent | Best free option, strong reasoning |
minimax-m2.5-free | Very Good | Fast, good for simple tasks |
nemotron-3-super-free | Good | Nvidia's model, solid general purpose |
big-pickle | Good | Works reliably |
OpenCode Go (Paid, Cheap)
For better quality on complex tasks, the OpenCode Go provider offers capable models at low cost:
/model glm-5 --provider opencode-go
/model deepseek-v4-flash --provider opencode-go
/model deepseek-v4-pro --provider opencode-go
/model mimo-v2-pro --provider opencode-go
/model mimo-v2-omni --provider opencode-go
The glm-5 model is a strong balance of capability and cost. deepseek-v4-flash is a fast general-purpose model with solid reasoning — it's the model powering this very editor — and deepseek-v4-pro is the heavier version for complex tasks. The mimo-v2-pro variant adds vision capabilities.
Migrating from OpenClaw
If you have an existing OpenClaw setup, Hermes includes a built-in migration tool:
# From the host
docker exec -it hermes-agent hermes claw migrate

# This ingests:
# - Your OpenClaw .env configuration
# - Session history
# - Any installed plugins/skills metadata
The migration isn't perfect — OpenClaw's skill system and Hermes' auto-generated skills are fundamentally different architectures. But your conversation history, configuration, and user profiles transfer cleanly.
Troubleshooting
Container Won't Start
# Check logs
cd ~/hermes-agent && docker compose logs

# Common causes:
# - Invalid API key: look for "401 Unauthorized"
# - Port conflict: port 18789 already in use
# - Missing .env file: entrypoint needs something to bootstrap

# Force rebuild
docker compose up -d --build
Permission Issues (Can't Write to hermes-data/)
With the v9 setup's user: directive, this shouldn't happen. But if files somehow end up owned by root:
# Check ownership
ls -la ~/hermes-agent/hermes-data/

# Fix once (persists across restarts)
sudo chown -R $(id -u):$(id -g) ~/hermes-agent/hermes-data/

# Verify compose .env has correct UIDs
cat ~/hermes-agent/.env
# Should show: HERMES_UID=<your_uid>, HERMES_GID=<your_gid>, DOCKER_GID=<docker_gid>
No Response in Telegram
# Check if gateway is running
docker compose ps

# Check gateway logs for polling errors
docker compose logs hermes | grep -i telegram

# Common fixes:
# - Verify TELEGRAM_BOT_TOKEN is correct
# - Make sure TELEGRAM_ALLOWED_USERS includes your numeric user ID
# - Restart the container after env changes
High Memory Usage
Hermes is more memory-efficient than OpenClaw (Python vs Node.js), but the Docker backend containers add overhead. If the agent crashes randomly:
# Check for OOM kills
dmesg | grep -i oom

# Check swap usage
free -h
swapon --show

# Solution: upgrade to CX32 (8GB) or reduce terminal backend timeouts:
# In hermes-data/.env:
TERMINAL_LIFETIME_SECONDS=120  # Clean up idle containers faster
Lost Memories After Rebuild
The bind mount should keep data safe, but verify:
# Check that hermes-data is properly mounted
docker inspect hermes-agent | grep -A5 Mounts
# Source should point to ~/hermes-agent/hermes-data
# Destination should be /home/hermes/.hermes
If the mount is correct but memories are empty, check that the entrypoint's HERMES_HOME environment variable matches the bind mount target.
Conclusion
Hermes Agent represents a genuine step forward in self-hosted AI. The OpenClaw project proved that running your own private assistant was possible; Hermes proves it can be practical.
The differences that matter day-to-day:
- Automatic skill creation — I don't install plugins anymore. I tell Hermes what I need, and it builds the tool.
- Real memory — FTS5 recall with LLM summarization means the agent actually knows who I am when I message it after a week of silence.
- Docker isolation — The terminal backend runs untrusted code in disposable containers. OpenClaw had a critical RCE vulnerability; Hermes was designed from the ground up to prevent it.
- TUI — Having a proper interactive shell makes debugging and configuration dramatically easier than OpenClaw's headless CLI.
Is it perfect? No. The upstream repo has a dependency resolution issue with pip that required switching to uv. The OpenCode Zen normalization bug needed a one-line patch. And managing multiple model providers in the config file still feels more fiddly than it should.
But for the price of a Hetzner CX22 (~€8/month) and an OpenRouter or OpenCode Zen API key, you get a 24/7 private AI assistant that improves itself over time, remembers your context across sessions, and talks to you through whatever messaging app you already use.
Call to Action: Check out the Hermes Agent GitHub Repository to star the project, report issues, or contribute. The project is under active development and the community around it is building some genuinely interesting skills.
Appendix: Full Setup Script
setup-hermes-hetzner.sh (v9)
Save this as setup-hermes-hetzner.sh, make it executable (chmod +x setup-hermes-hetzner.sh), and run it as root on a fresh Hetzner VPS.
#!/bin/bash
set -e

# Hermes Agent Hetzner/Linux Docker Setup (v9 - Compose UID)
# Targets: Ubuntu 22.04+ (Hetzner Cloud / VPS)
# Purpose: Deploy the self-improving Hermes Agent with proper isolation.

SWAP_SIZE="4G"
REPO_URL="https://github.com/nousresearch/hermes-agent.git"
IMAGE_NAME="hermes-agent:local"
CONTAINER_NAME="hermes-agent"

log() { echo -e "\033[1;32m[INFO]\033[0m $1"; }
error() { echo -e "\033[1;31m[ERROR]\033[0m $1"; exit 1; }

if [[ $EUID -ne 0 ]]; then error "This script must be run as root"; fi

# --- 1. System Update ---
log "Updating system packages..."
apt update && apt upgrade -y
apt install -y curl git build-essential python3 python3-pip sudo

# --- 2. Setup Swap ---
if [ ! -f /var/swap.img ]; then
    log "Creating $SWAP_SIZE swap file..."
    fallocate -l $SWAP_SIZE /var/swap.img
    chmod 600 /var/swap.img && mkswap /var/swap.img && swapon /var/swap.img
    echo "/var/swap.img none swap sw 0 0" >> /etc/fstab
fi

# --- 3. Install Docker ---
if ! command -v docker &> /dev/null; then
    log "Installing Docker..."
    curl -fsSL https://get.docker.com | sh
fi

# --- 4. Admin User Setup ---
read -p "Enter username for the admin user: " ADMIN_USER
if [[ -z "$ADMIN_USER" ]]; then error "Admin username is required."; fi

if ! id "$ADMIN_USER" &>/dev/null; then
    useradd -m -s /bin/bash "$ADMIN_USER"
    usermod -aG sudo,docker "$ADMIN_USER"
    passwd "$ADMIN_USER"
    mkdir -p "/home/$ADMIN_USER/.ssh"
    [ -f /root/.ssh/authorized_keys ] && cp /root/.ssh/authorized_keys "/home/$ADMIN_USER/.ssh/" && chown -R "$ADMIN_USER:$ADMIN_USER" "/home/$ADMIN_USER/.ssh"
fi

ADMIN_HOME="/home/$ADMIN_USER"
INSTALL_DIR="$ADMIN_HOME/hermes-agent"
CONFIG_DIR="$ADMIN_HOME/.hermes"
mkdir -p "$CONFIG_DIR/memories"

# --- 5. Clone Repo ---
if [ ! -d "$INSTALL_DIR" ]; then
    log "Cloning Hermes Agent..."
    sudo -u "$ADMIN_USER" git clone "$REPO_URL" "$INSTALL_DIR"
else
    cd "$INSTALL_DIR" && sudo -u "$ADMIN_USER" git pull
fi

cd "$INSTALL_DIR"

# --- 6. Write Custom Dockerfile ---
cat <<'DOCKER_EOF' > Dockerfile
FROM python:3.11-slim-bookworm

ENV PYTHONDONTWRITEBYTECODE=1 \
    PYTHONUNBUFFERED=1 \
    DEBIAN_FRONTEND=noninteractive

RUN apt-get update && apt-get install -y --no-install-recommends \
    build-essential curl git libmagic1 ffmpeg libsm6 libxext6 gnupg ca-certificates \
    && curl -fsSL https://deb.nodesource.com/setup_20.x | bash - \
    && apt-get install -y nodejs \
    && apt-get clean && rm -rf /var/lib/apt/lists/*

RUN npm install -g @google/gemini-cli

COPY --from=ghcr.io/astral-sh/uv:latest /uv /uvx /bin/

WORKDIR /app
COPY . .
RUN uv venv && uv pip install --system -e ".[all]"

RUN npm install --prefer-offline --no-audit && \
    npx playwright install --with-deps chromium --only-shell

RUN useradd -m hermes && chown -R hermes:hermes /app
USER hermes
ENTRYPOINT ["hermes"]
CMD ["gateway"]
DOCKER_EOF

# --- 7. Environment ---
ENV_FILE="$CONFIG_DIR/.env"
if [ ! -f "$ENV_FILE" ]; then
    cat <<EOF > "$ENV_FILE"
HERMES_MODEL_PROVIDER=openrouter
HERMES_API_KEY=your_api_key_here
HERMES_MODEL=nousresearch/hermes-3-llama-3.1-405b
HERMES_TERMINAL_BACKEND=docker
HERMES_MEMORIES_PATH=/app/memories
EOF
    chown "$ADMIN_USER:$ADMIN_USER" "$ENV_FILE"
fi

# --- 8. Docker Compose ---
cat <<COMPOSE_EOF > docker-compose.yml
services:
  hermes:
    build:
      context: .
      dockerfile: Dockerfile
    container_name: hermes-agent
    init: true
    restart: unless-stopped
    user: "${HERMES_UID:-1000}:${HERMES_GID:-1000}"
    group_add:
      - "${DOCKER_GID:-999}"
    env_file: hermes-data/.env
    volumes:
      - ./hermes-data:/home/hermes/.hermes
      - /var/run/docker.sock:/var/run/docker.sock
COMPOSE_EOF

# --- 9. Build & Launch ---
log "Building Hermes Agent..."
docker build -t "$IMAGE_NAME" .

if docker ps -a --format '{{.Names}}' | grep -q "^${CONTAINER_NAME}$"; then
    docker stop "$CONTAINER_NAME" && docker rm "$CONTAINER_NAME"
fi

log "Starting Hermes Agent (Gateway Mode)..."
docker compose up -d

chown -R "$ADMIN_USER:$ADMIN_USER" "$CONFIG_DIR"
log "--- SETUP COMPLETE ---"
log "Next: nano $CONFIG_DIR/.env and add your API keys"
log "Then: docker restart $CONTAINER_NAME"