Browser Gamepad Support
Gaming on the web has come a long way since the early days of Flash games. Modern browsers now support powerful HTML5 features that enable rich, interactive gaming experiences comparable to native applications. One crucial aspect of gaming is controller support - the ability to use physical gamepads and controllers to interact with web games.
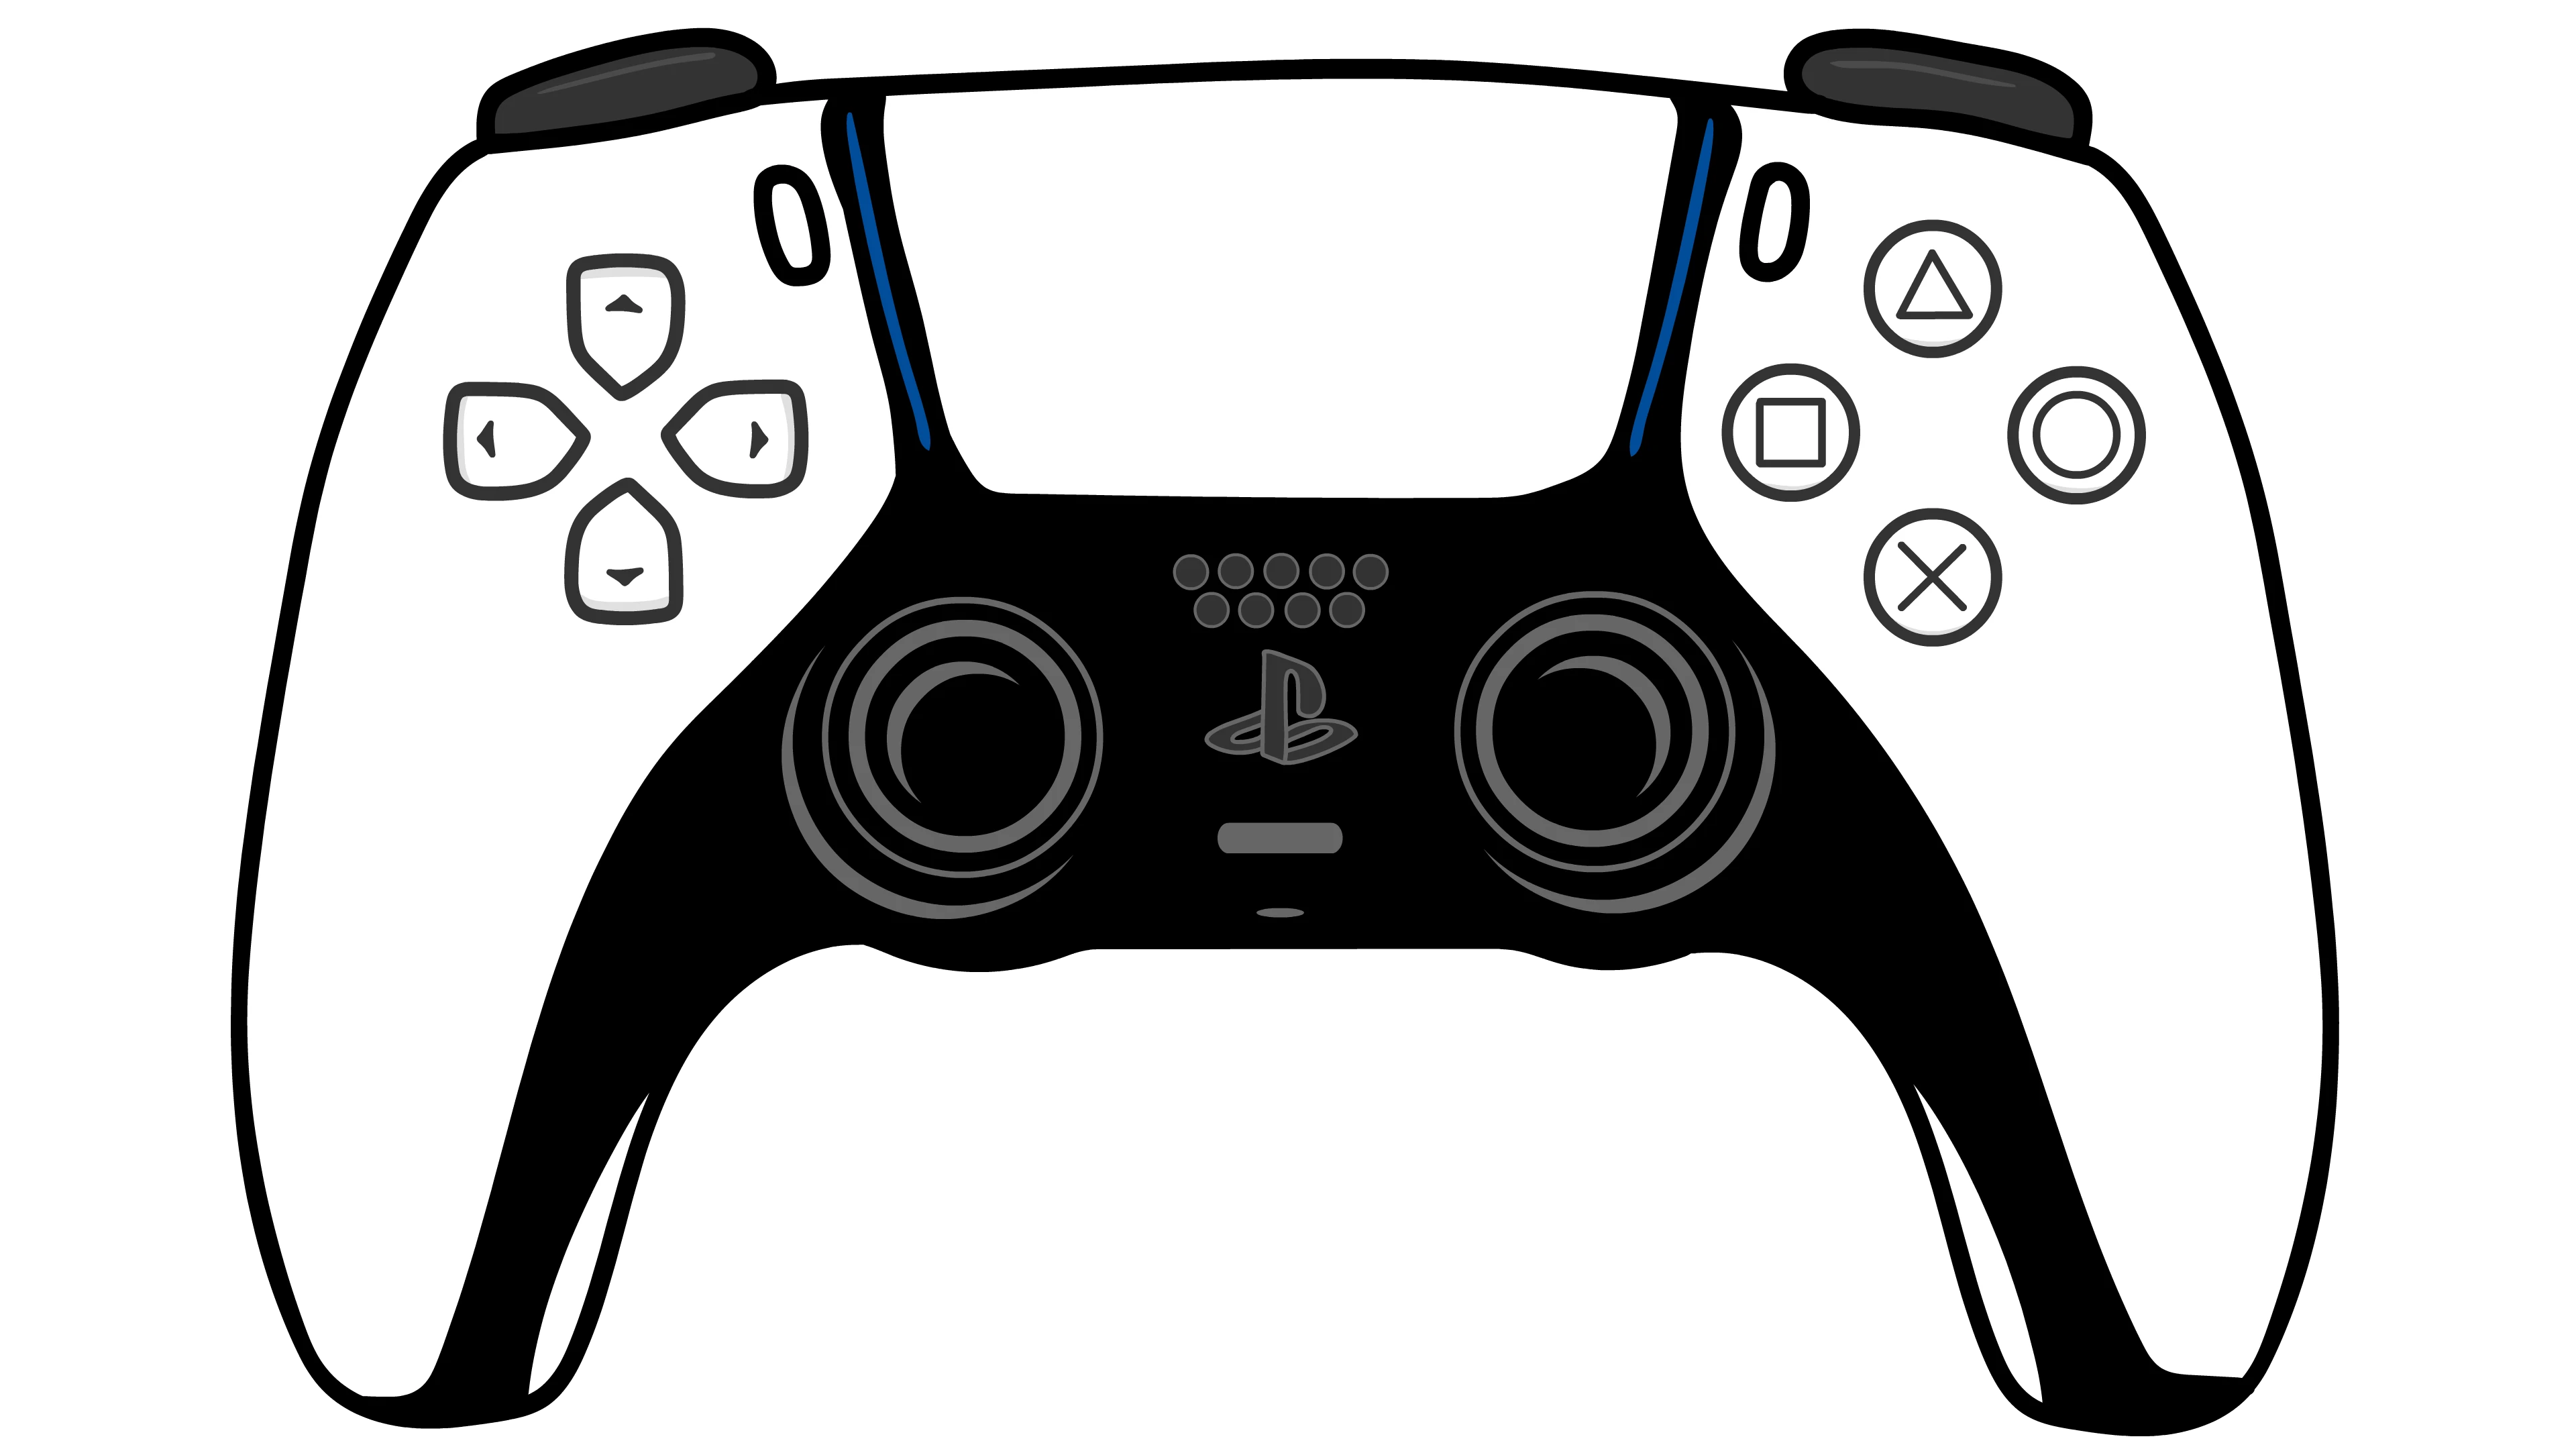
The Gamepad API is a web standard that enables browsers to communicate with gaming controllers and input devices. It offers broad compatibility across modern browsers (Chrome, Firefox, Safari, Edge) and supports a wide range of controllers including Xbox, PlayStation, Nintendo Switch Pro controllers, and various third-party gamepads.
In this post, we'll explore the Browser Gamepad API, which allows web developers to integrate gamepad support into their applications. We'll look at how to detect connected controllers, read input states, and respond to button presses and analog stick movements. Whether you're building a retro-style platformer or a modern 3D game, adding gamepad support can greatly enhance the player experience.
Detecting Connection
MDN Documentation: gamepadconnected event
https://developer.mozilla.org/en-US/docs/Web/API/Window/gamepadconnected_event
When a controller is connected via USB or Bluetooth, browsers can detect and interact with it through the Gamepad API. The focused page receives a gamepadconnected event for new connections, but for controllers that are already connected when the page loads, the event only fires after the user interacts with the controller - either by pressing a button or moving an axis.
window.addEventListener("gamepadconnected", (event) => {
  // all buttons and axes values can be accessed through
  const gamepad = event.gamepad;
  // or navigator.getGamepads()

  console.log(
    "Gamepad connected at index %d: %s. %d buttons, %d axes.",
    gamepad.index,
    gamepad.id,
    gamepad.buttons.length,
    gamepad.axes.length,
  );
});
Note that websites must have the appropriate permissions to access gamepad data.This is controlled through the Permissions-Policy HTTP header with the gamepad directive. By default, gamepad access is allowed, but sites can restrict it using:
Permissions-Policy: gamepad=()
To explicitly allow gamepad access, you can use:
Permissions-Policy: gamepad=(self "https://example.com")
Gamepad Object
MDN Documentation: Gamepad
Once a gamepad is connected, you get access to a Gamepad object that provides information about the controller and its current state. Here are the key properties available:
id: A string containing identifying information about the controllerindex: A number indicating which controller this is (useful when multiple are connected)connected: A boolean indicating if the controller is still connectedtimestamp: The last time the gamepad state was updatedmapping: The button/axis mapping standard being used (usually "standard")buttons: Array ofGamepadButtonobjects representing button statesaxes: Array of analog stick and trigger values (-1.0 to 1.0)
Properties like id, index, connected, and timestamp provide useful information about the controller's identity and status. While the real power of gamepad input comes from the mapping, buttons, and axes properties.
Standard Mapping
The mapping property indicates whether the gamepad follows a standardized button layout. When set to "standard", you can expect consistent button indexing across different controllers. Let's explore these essential properties in detail.
The Gamepad API provides two main ways to handle input: the buttons array for digital inputs and the axes array for analog inputs.
Buttons Array
The buttons array is fundamental for handling traditional gamepad input. Each button object provides:
{
  pressed: boolean,    // true when button is pressed
  touched: boolean,    // true when button is touched
  value: float         // 0.0 to 1.0 for analog buttons (like triggers)
}
The buttons array contains objects with these properties for each button on the controller. Here's an example of how to use them:
// Check if a specific button is pressed
const isAButtonPressed = gamepad.buttons[0].pressed;

// Get analog stick position
const leftStickX = gamepad.axes[0]; // -1 = left, 1 = right
const leftStickY = gamepad.axes[1]; // -1 = up, 1 = down
Axes Array
The axes array represents analog inputs like joysticks and triggers. Each axis returns a floating-point value between -1.0 and 1.0, representing the position or intensity of the input:
- Indices 0-1: Left stick X/Y
- X-axis (0): -1.0 (left) to 1.0 (right)
- Y-axis (1): -1.0 (up) to 1.0 (down)
- Indices 2-3: Right stick X/Y
- X-axis (2): -1.0 (left) to 1.0 (right)
- Y-axis (3): -1.0 (up) to 1.0 (down)
- Additional indices: Platform-specific controls (e.g., triggers)
Reading Analog Input
Here's a simple example on how to access the analog stick input
// left stick values
const leftX = gamepad.axes[0];
const leftY = gamepad.axes[1];
console.log(`Left X: ${leftX}, Left Y: ${leftY}`);
// Left X: 0.12895405292510986, Left Y: 0.006149411201477051

// right stick values
const rightX = gamepad.axes[2];
const rightY = gamepad.axes[3];

// triggers
const leftTrigger = gamepad.axes[4];
const rightTrigger = gamepad.axes[5];
Live Demo
With all the detailed information covered above, I've created an interactive component below to demonstrate gamepad connectivity and button functionality in real-time. You can connect your controller and test out the buttons and analog sticks to see the Gamepad API in action.

No Controller Connected
Connect your gamepad and press any button to start testing. Supports PlayStation and Xbox controllers.